 |
||||
| Mod: PVC on the bumper | ||||
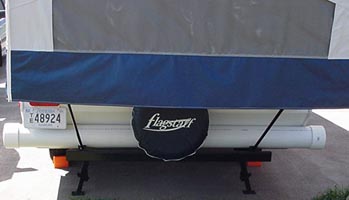
First of all, i want to thank Shakey's PopUp CampSite for the original plans. I have basically copied those plans and modified them for my own camper. All items were purchased at Lowe's as that is the only place i could find 6" PVC pipe. I chose the slide on end caps instead of the screw on. To me, it is a personal preference and the slide on caps fit tight.
Start out by measuring the total width of your camper and do a test fit with the 6" PVC pipe to make sure it will fit where you want it. My camper was 84 1/2" wide and i needed to add 3" to each side for the end caps for a total of 90 1/2". My end caps would not clear the side of the camper and this is the reason i recommend many dry fits. Before drilling any holes, be sure you will be able to reach inside the PVC pipe and install the bolt. If the hole is too far away, you won't be insert the bolt!
Put end caps in place and perform another dry fit - placing the pipe exactly where you want it on the bumper. Make a mark on the bumper where the bottom of the PVC pipe touches the bumper and then remove PVC pipe. Get your trusty drill and a 3/8" drill bit. I used a 16 penny nail to make a small indentation in the metal so the drill bit would stick. Drill both holes on the bumper. Place the PVC pipe back on the bumper in the exact place you want it. Using a pencil, mark through the holes in the bumper onto the pipe. Remove pipe. Before drilling, i used a 16 penny nail to make an indentation on the PVC pipe. Drill 3/8" holes through the PVC pipe.
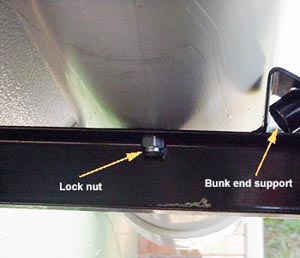
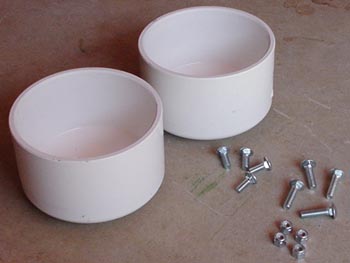
Depending on your setup, you may need longer carriage bolts. I used 1" long bolts with lock nuts. Remove end caps, reach inside PVC pipe and insert bolt through PVC pipe and bumper. Place nut on (do not tighten completely) and repeat the process on the other side. Tighten nuts and place end caps on the ends. I had to use Channel Locks to hold the top of the carriage bolt while tightening.
 Click on the thumbnails below for more photos.

|
||||
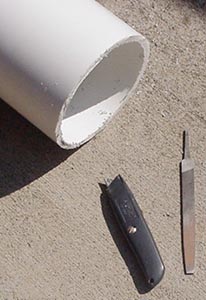 To me, cutting the PVC pipe "straight" is probably the most difficult part. I laid a tape measure on the ground and made small marks all the way around the PVC pipe. Then i went back and connected them all together - like those old connect the dots pictures. With the pipe on the ground, i used a utility knife to score the top of the PVC pipe and began sawing with a hacksaw. After sawing through the line on the top, i turned the PVC pipe, scored the line and cut the next part. I continued to turn the pipe and score the line until the pipe was completely cut. After cutting the pipe, you will have a pretty rough end. I used a small file and utility knife to remove the small burrs.
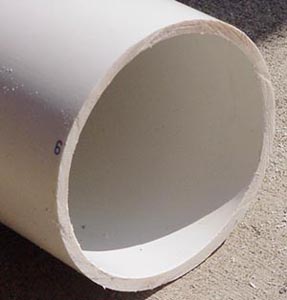