First of all, i want to thank ThunderRock Kamping for the idea. All items were purchased at Lowe's.
In a message thread on the Pop Up Times message board, i suggested attaching the hinge to the short side of the lid instead of long side. This was not possible in my situation. Be sure the lid will clear the bunk before attaching the hinge on the short side.
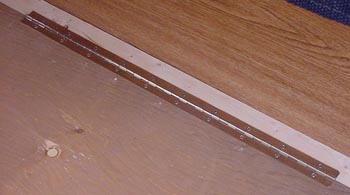
Begin by cutting the piano hinge to length - two 20" sections worked in my situation. A piano hinge of 48" was the shortest length i could find. I used a regular hacksaw to cut and filed off the rough edges.
Measure the length on the top edge of the existing storage box lid and cut two pieces from the wood you selected. I chose 1"x2" slats (which is really about 3/4"x1 1/2") and planed it down to 5/8" thick. For this project, our back slat will be 1 1/2" wide x 5/8" thick.
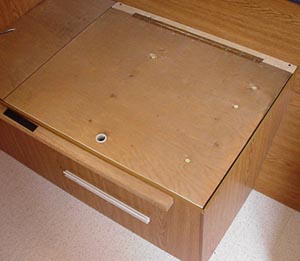
Mark the existing lid, cut 1 1/2" from the back side and sand the edge. Place the lid and back slat in place and be sure the lid will open and close freely.
Install the back slat with one wood screw on each end. I drilled a pilot hole on each end and used regular 1 5/8" sheetrock screws. Place the lid in place, center the hinge and secure with screws. I decided to use #4 3/4" screws on the back side of the hinge for more support. The screws that came with the hinge were a bit shorter.
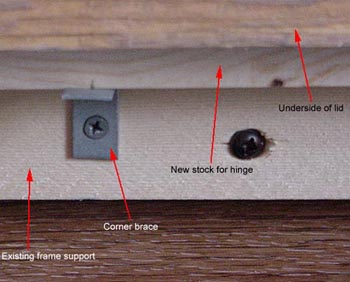
After all hinge screws are in place, i added two 1" corner braces or 'L' brackets to each slat for support. Finish the project off by adding felt cabinet bumpers.
Click on the links below for more photos.