 |
||||
| Mod: Repair/lengthen 12V overhead light wiring | ||||
These instructions are to be used as a guide and may need to be modified for your camper. If i can, i am willing to help in anyway possible... just send me an email.
This is not really a modification, rather a fix. The wiring for the 12V overhead lights came through the dinette seat that we use for storage. In the process of stowing supplies, the ground wire was pulled from its plug. There were actually two problems here:
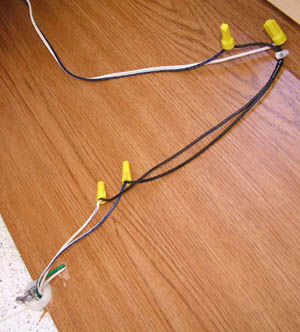
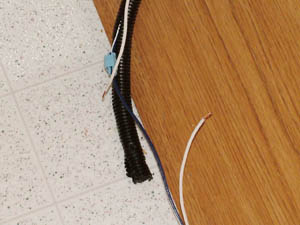 I unwrapped the wiring and removed the factory plug (light blue). I added a length of regular wire (from an old power cord) so the wiring would run straight up and underneath the back of the dinette seat. Then i added wire nuts and a little electrical tape around the wire nuts for good measure.
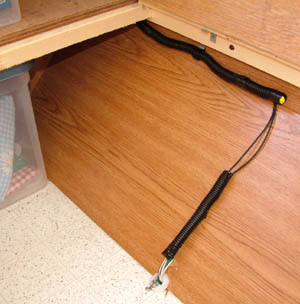
 I placed the wire underneath the back of the dinette seat and attached the wire in place with two Nail-in cable clips. The larger cable clip shown in the photos came from the factory - i moved it over a little bit.
To complete the fix, i replaced the factory plastic sheathing around the wiring. I plan to purchase some more at a later date and wrap it a little better, but this will work for now. To finish everything off, i filled the hole going through the floor with caulk.
|
||||